
In this blog, you’ll learn How To Install PayU Payments Plugin For MS Excel for:
- Windows 7
- Windows 8, 8.1 & 10
1. Here’s how to install plugin in Windows 7:
- Go to PayUmoney product page for Payments Plugin
- Click on download button for Windows 7
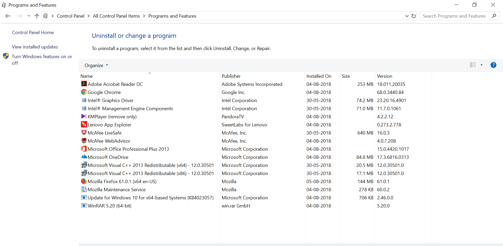
- You need to have .Net framework 4.5 or above & MS Visual Studio 2010 installed in your system to be able to use the plugin. You can check that in the Control Panel.
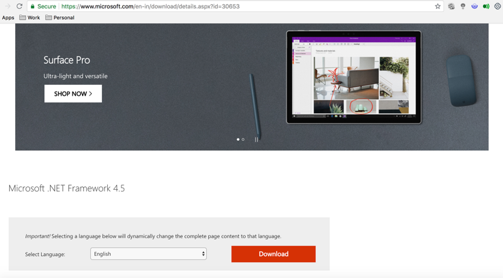
- If you don’t have .NET framework 4.5 or above then you can either install from this link or the one just above the download button.
- You will get redirected to the Microsoft Page from where you can download the .NET framework. Click on Download and install it just like any other software.
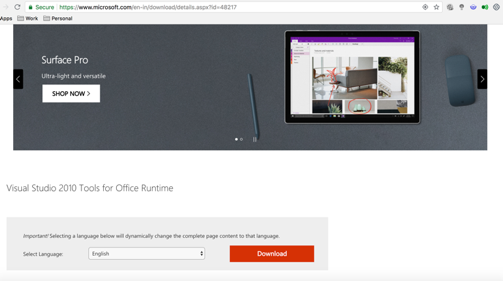
- Similarly, If you don’t have MS Visual Studio, 2010 Tools for Office Runtime, you can either install from this link or the one mentioned just above the download button.
- You will get redirected to the Microsoft Page from where you can download the MS Visual Studio 2010. Click on Download and install it just like any other software.
- If you have all the pre-requisites installed, click on Download Plugin for Windows 7 button to download a file named PayU Payments for MS Excel.msi
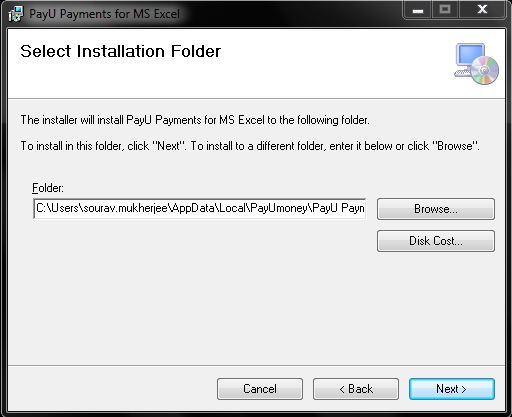
- Make sure, all the Excel Workbooks are closed. Double click the .msi file & click on Next

- Select ‘I agree’ for the Terms & Conditions and then press Next.

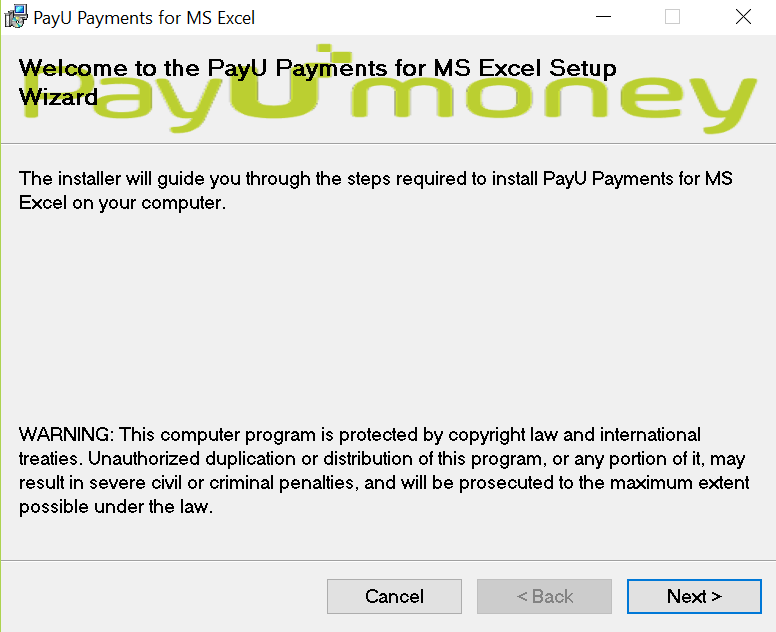
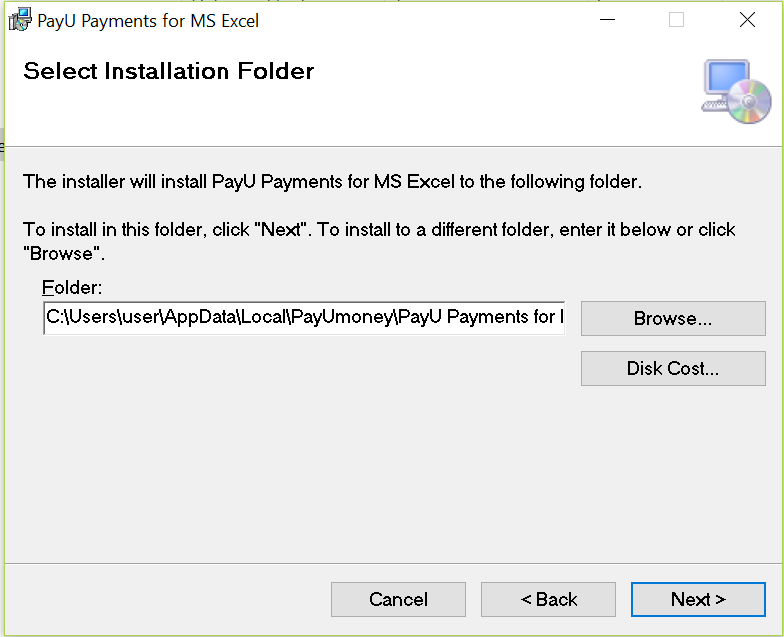
- Click on Next
- Click on next again
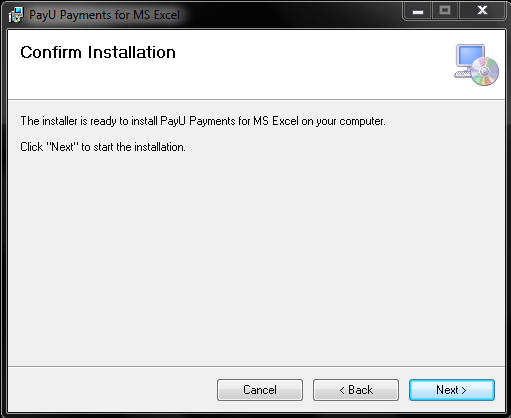
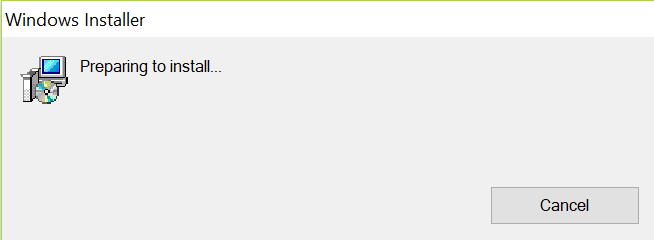
- The installation progress bar appears. Wait for a couple of seconds and the system will show a pop asking whether you want to install the plugin.

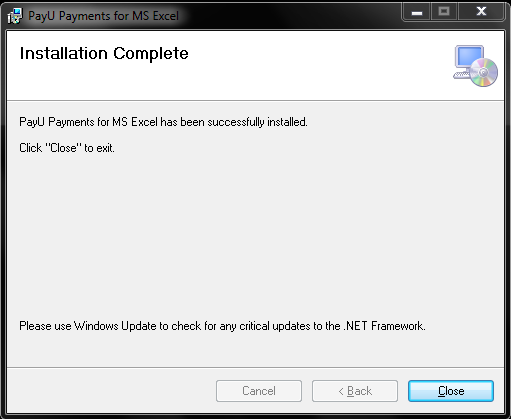
- The plugin will get installed in a couple of seconds.

2. Here’s how to install plugin in Windows 8, 8.1 & 10:
- If you have Windows 8, 8.1 or 10 system, you don’t need to check whether the per-requisite software are installed or not.
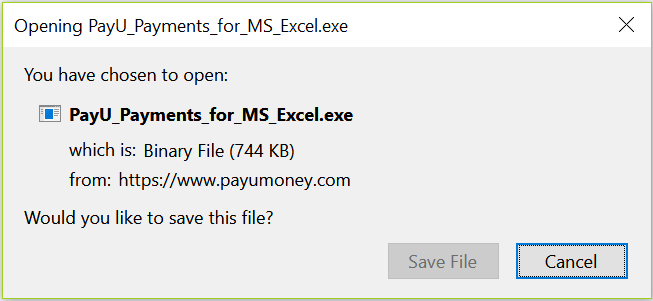
- Here, we are using Windows 10 as this is widely used and is the latest OS. Click on Download the smart Plugin for Windows 8 & above button to download a file named PayU Payments for MS Excel.exe. You will be asked whether you want to save the file. Click Save.
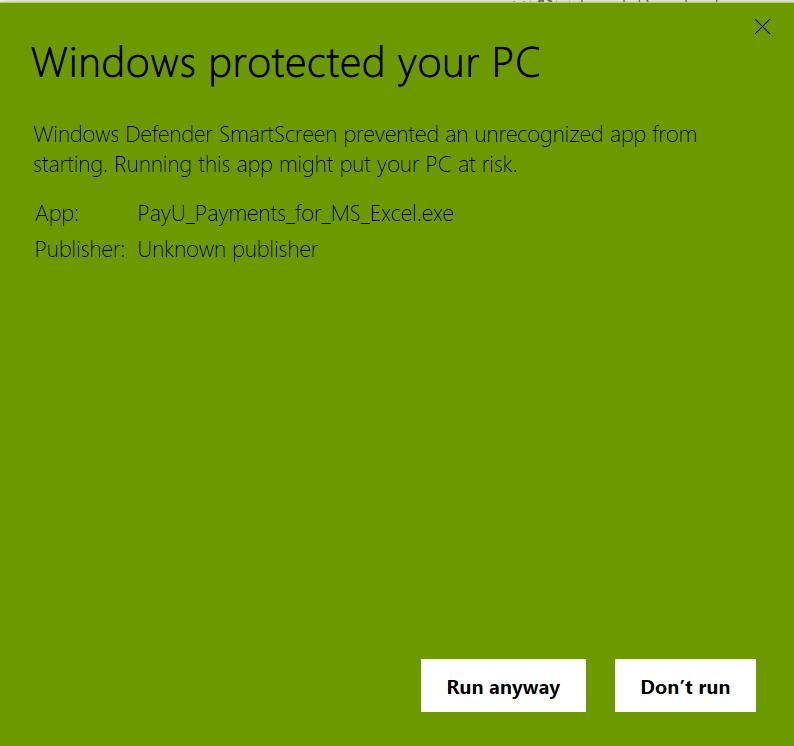
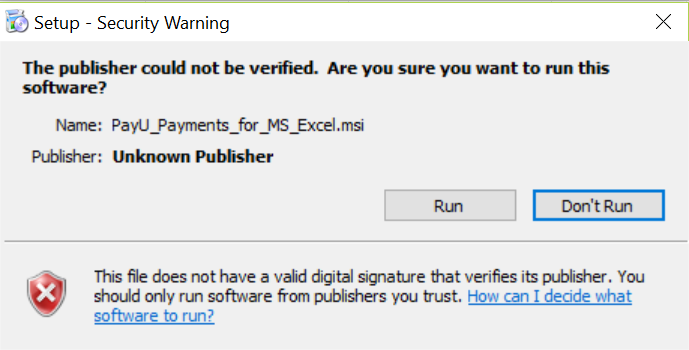
- Make sure, all the Excel Workbooks are closed. Double click the .exe file. For Windows 10, you might get the following prompt. This will not appear in Windows 8 or 8.1
- Click on More Info and then press Run Anyway
- If the system does not have a per-requisite, the set up auto-detects it, downloads and install it.
- Here, it is detected that the MS Visual Studio 2010 Tools for Office Runtime is not installed. Thus, the set up asks for accepting the license agreement for the requirement. Click on Accept.

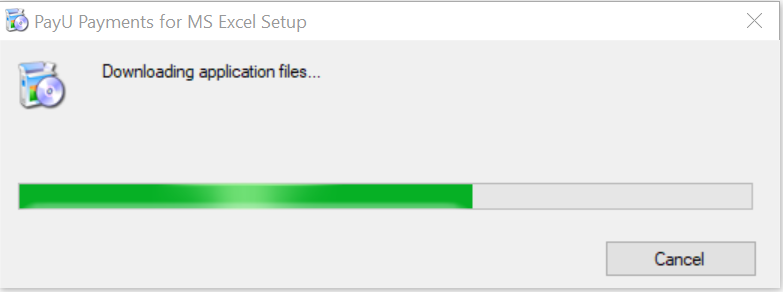
- The set up starts downloading it. Do not press Cancel here.

- Once the per-requisite is downloaded, the system asks for the permission to install it.
- Click Yes. The installation process starts and the per-requisites are installed.
- Once completed, the Windows asks for permission to install the plugin.
- Click Run and its starts to the plugin installation process.
- Click on Next
- Select ‘I agree’ for the Terms & Conditions and then press Next.

- Click on Next
- Click on Next again

- The installation progress bar appears. Wait for a couple of seconds and the system will show a pop asking whether you want to install the plugin.

- The plugin will get installed in a couple of seconds.
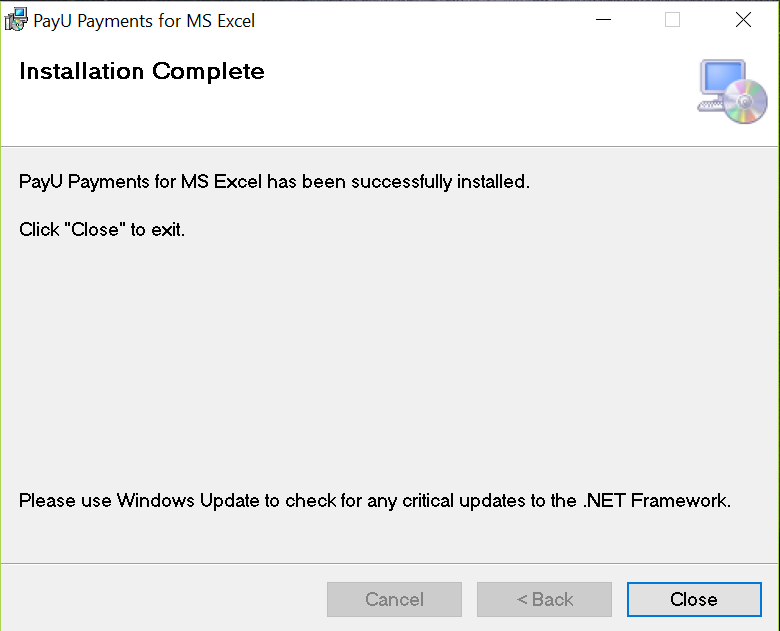
- Vola! The installation is complete. You can open a New Excel Sheet & start using the plugin for payment collection.

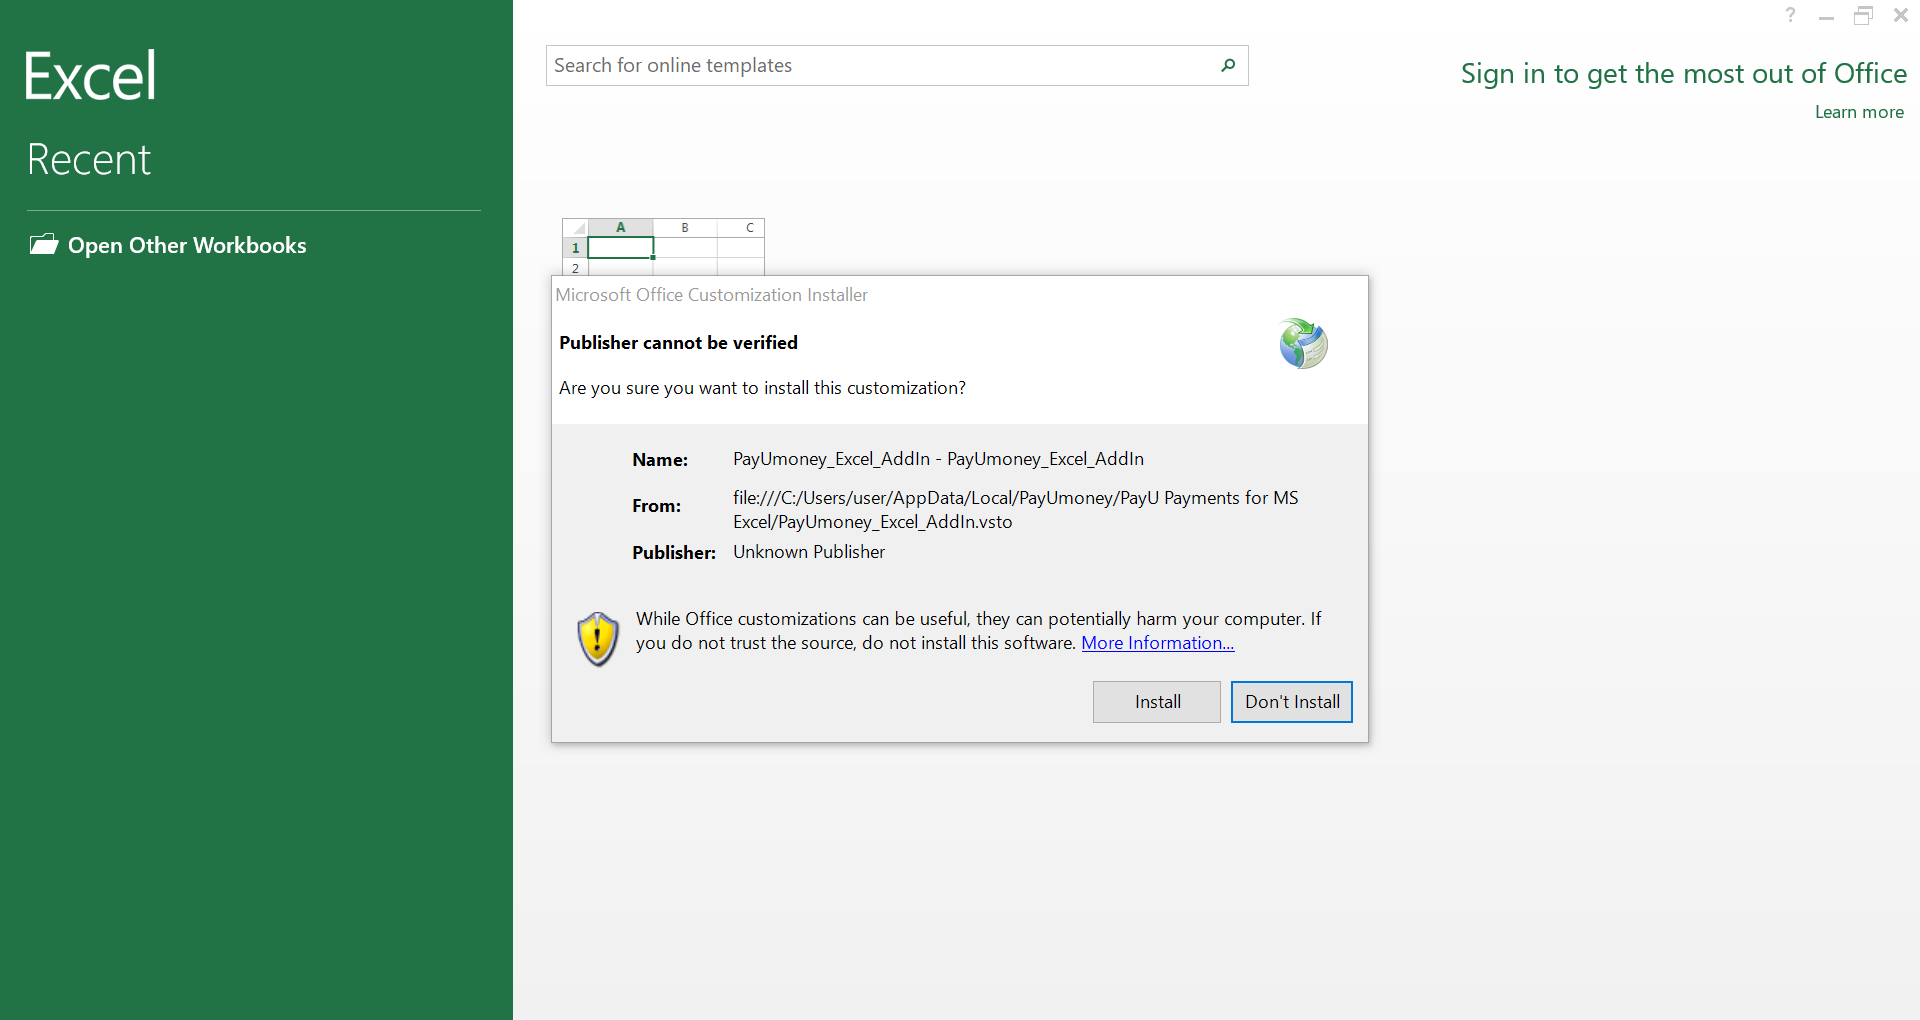
Note: If you have MS Excel 2013 or 2016; You will be asked to install the add-in inside the Excel. Click install.
Now that you how to install the plugin, learn how to use PayU Plugin for MS Excel here.


Leave a Comment